Comparing Colour Films... again!

Tim Parkin
Amateur Photographer who plays with big cameras and film when in between digital photographs.
We're back with our film tests so sorry for those of you who are purely digital. The tests are really useful for the large number of people who are coming back to film or starting to use it for the first time. I only plan to do another two or three full comparisons such as this (an autumn scene, an overcast lush green scene and a winter scene for example) and then I'm also looking at a full test of all the colour films available (about 26 different films at this point in time - although only about 18 are in current production) which will give dynamic ranges and colour handling.
So, if you are still reading then you've got a passing interest in film (hurrah!) and I'll see what I can do to help you choose which films you may wish to play with. The extra in this run was that we have included the new Portra 400 and Portra 160 films which have proven to give excellent results. Portra 400 has about 19 stops of dynamic range (about the same as Portra 400NC in the highlights but it has an extra couple of stops in the shadows) and Portra 160 is a very similar film to Portra 160VC but with a smoother grain and a small amount of extra dynamic range.
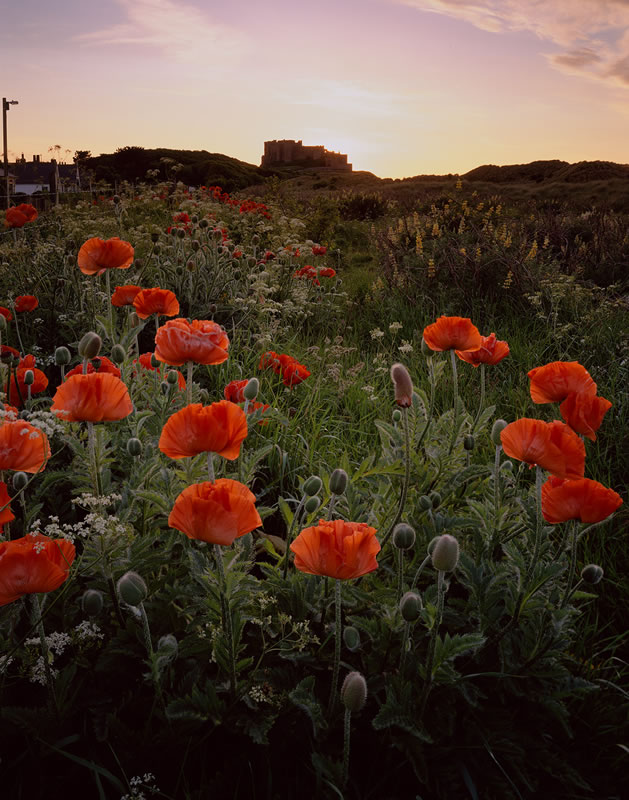
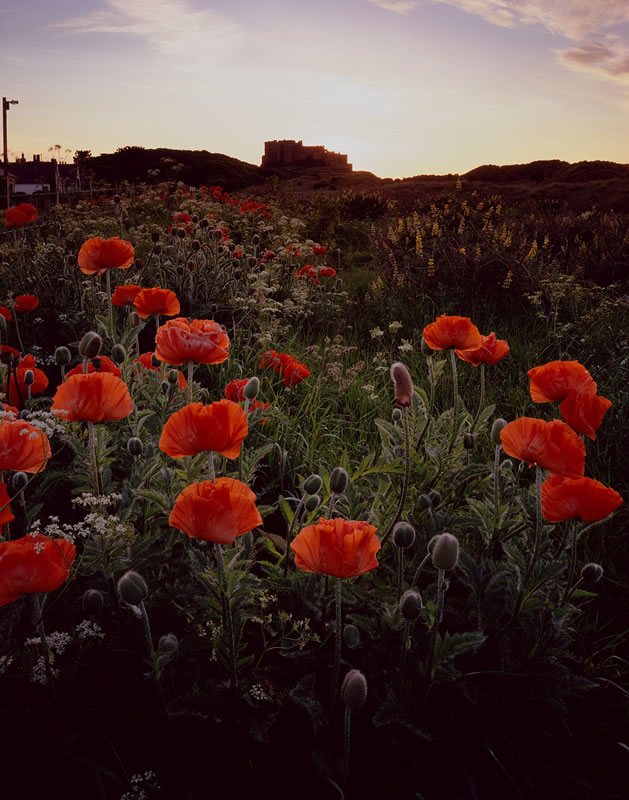
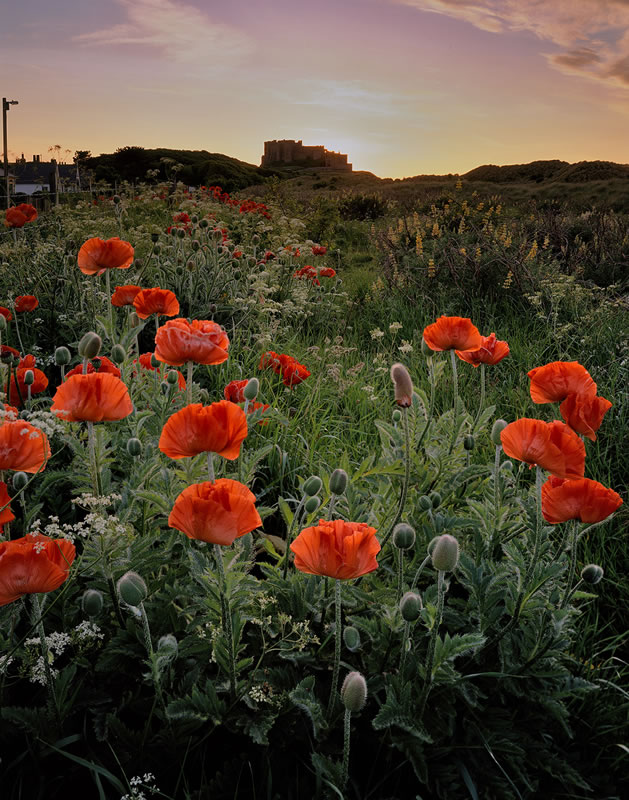
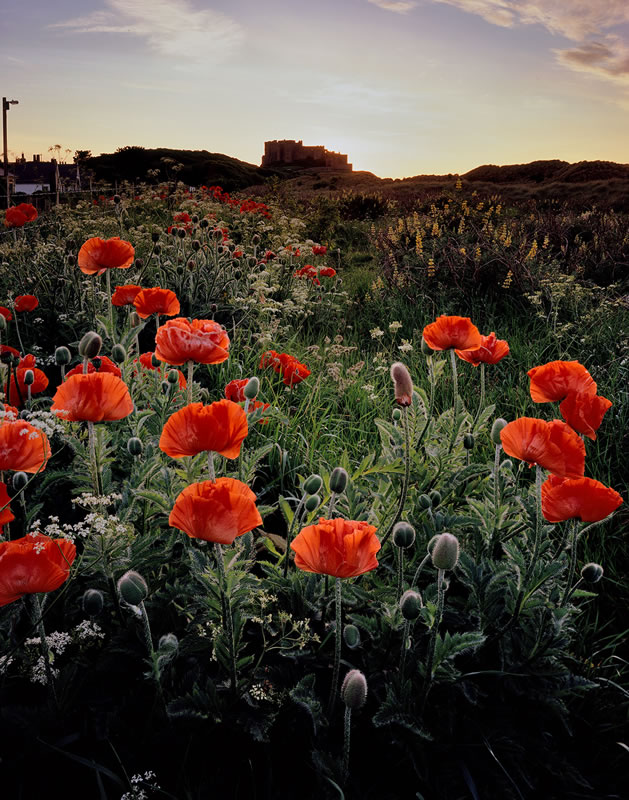
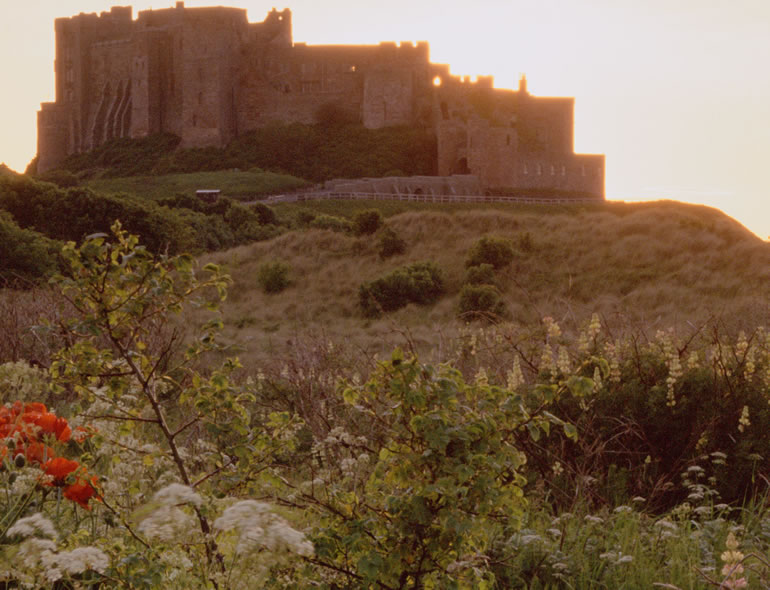
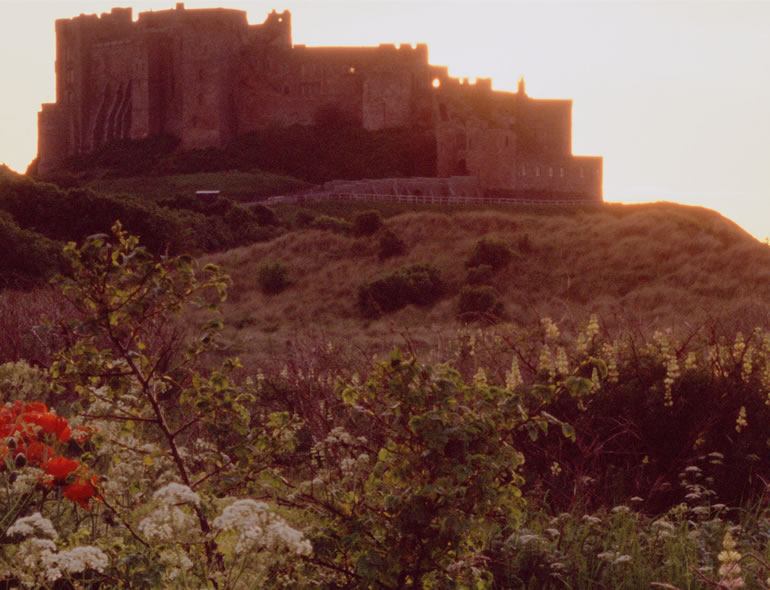
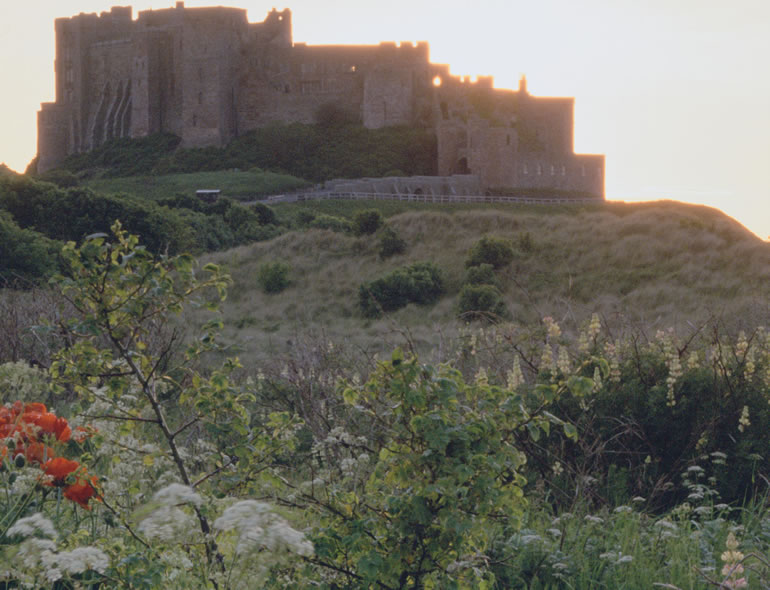
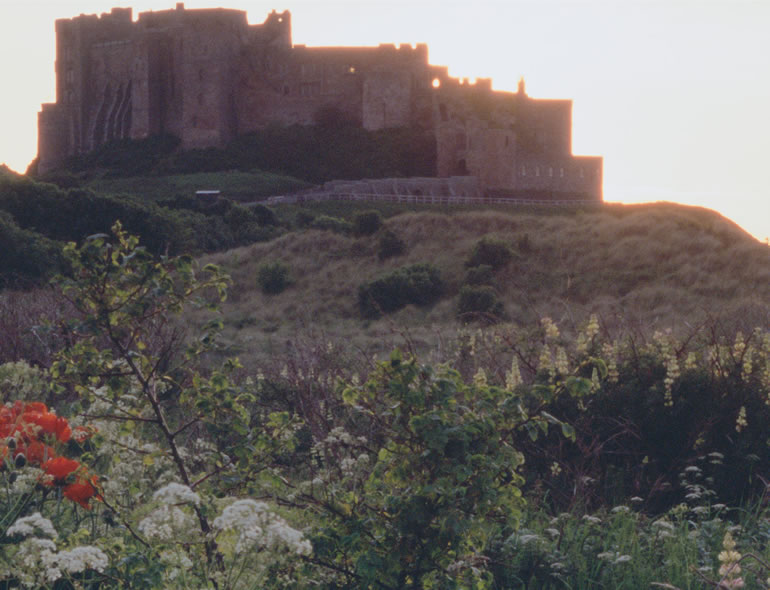
The scene I was testing was a view from the small poppy drifts on the 'other' side of Bamburgh castle in Northumberland. The sun had just popped below the castle and so the dynamic range was full on, probably 8 or 9 stops between the shaded greenery and the area around the castle and the deep shadows going down to about 13 stops below. The sun was moving as I was taking the shots but I've tried to group related films together. There shouldn't be too much difference in colour - the latter neg shots will probably be a little cooler in the sky and at one point the sun 'popped' out for a few seconds in the right hand corner of the castle (coinciding with the early neg shots).
I don't want to do too much analysis here - I'd like a fresh set of eyes to look at this and give comments so, please, if you have some conclusions about different films, please add comments to the bottom of this post and I'll come back at the end of the week, compile the best and add my own conclusions.
I should also add a huge thanks for Digitalab in Newcastle upon Tyne who developed all of the film for these tests and who have proven consistently great results. Although I could have developed the film myself, in order to make the tests consistent a professional lab minimised a potential failure point
Whole Photograph
The full picture with the photographs as they came out of the scanner (which means calibrated chromes and for neg film I set the shadow highlight points in my Howtek drum scanner software. However, similar results were had by making a raw scan and setting the RGB points in photoshop.)
Choose Which Films to Compare
Before side
|
After side
|
Whole Photograph (added contrast to neg and shadow/highlight to slides)
Because the negs come out with a very low contrast, I've applied a strong contrast curve, pulling the shadows and mid tones down and pushing the highlights up to creating a strong shoulder
Choose Which Films to Compare
Before side
|
After side
|
Whole Photograph (added grad to neg and shadow/highlight to slides)
In order to compare the slides and negs, many people will add a 'virtual' grad over the neg skies and so I've done some post processing on the negs that I would if I wanted to make them look more 'chrome' like


Choose Which Films to Compare
Before side
|
After side
|
Houses (default settings)
Here are the houses on the left hand side of the picture with the chromes boosted to show the shadow detail (not much needed doing the the negs) I've tried to balance the negs by setting a grey point on one of the posts


Choose Which Films to Compare
Before side
|
After side
|
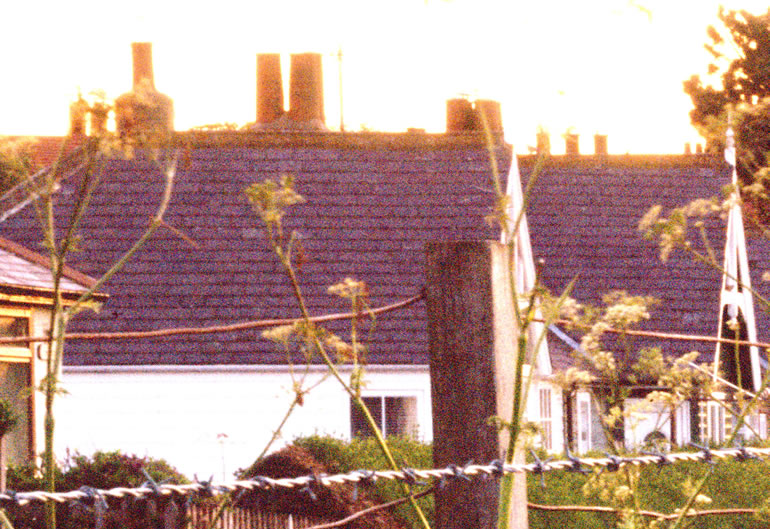
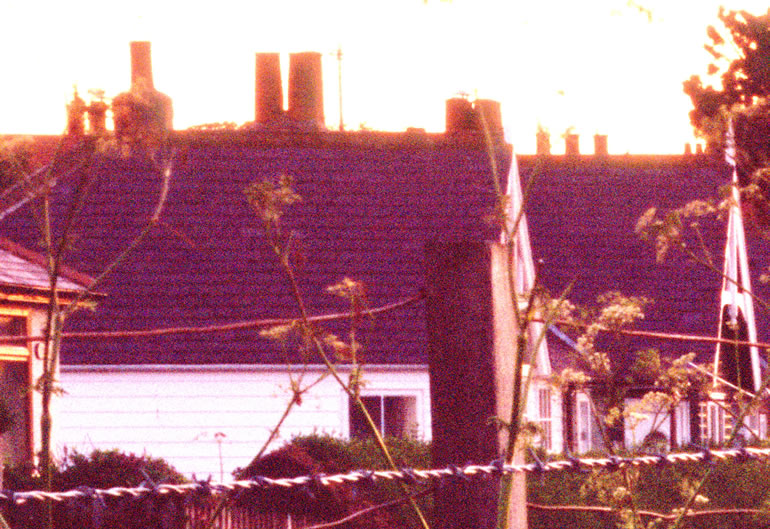
Houses (Boost curve)
Applying a general boost to show the shadows (which has blown the highlights in the chromes)
Choose Which Films to Compare
Before side
|
After side
|
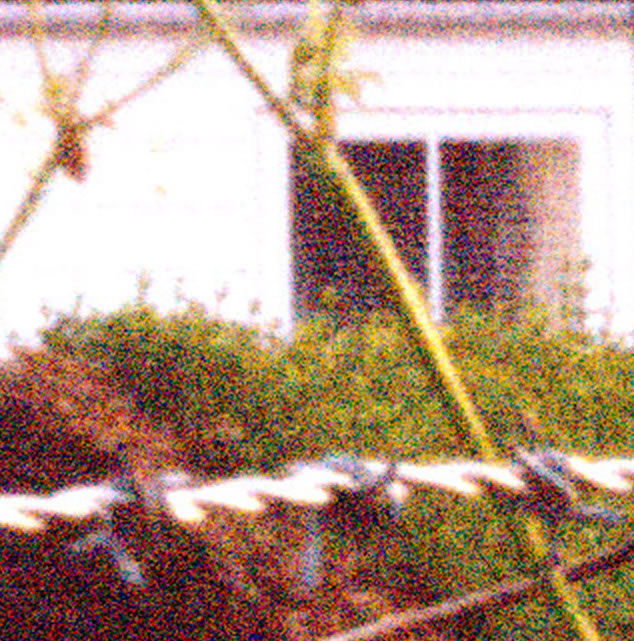
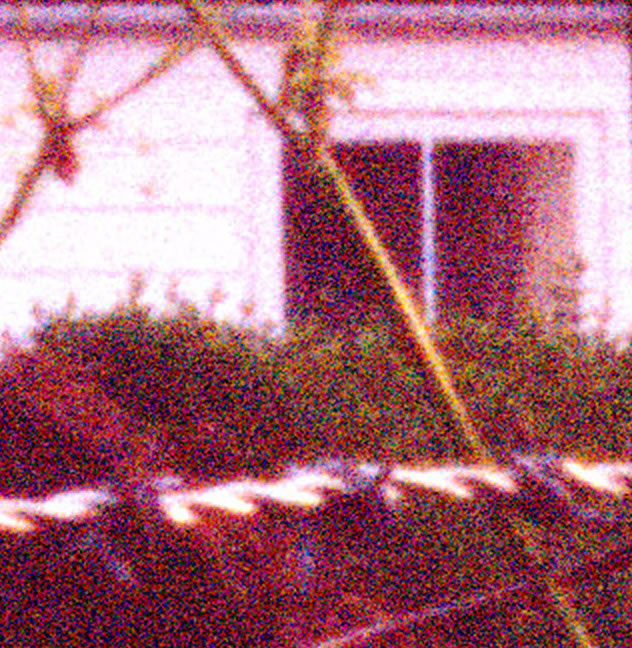
Houses (200% grain)
To give you an idea of the grain in the different film types, we've boosted the shadows on our 4000dpi scan and shown the results at 200%
Choose Which Films to Compare
Before side
|
After side
|
Sky (default)
Sky colour is something that changes quite a lot between different film types and so we've shown the raw sky results first


Choose Which Films to Compare
Before side
|
After side
|
Sky (curves on negs)
We've applied a virtual grad to the negs to show how they would look with a photoshop grad applied. You can see that we have an Ektar shot where we've applied an actual grad; The difference in colour is remarkable with Ektar where it changes colour depending on exposure level.


Choose Which Films to Compare
Before side
|
After side
|
Sky (curves on negs and noise reduction)
Neg film is particularly noisy in the highlights (especially when you make a scan using a 6 micron aperture like I have - if you use a drum scanner it is better to use a larger aperture. However I've found better results applying noise reduction to a finer scan. Here I've used Imagenomic's Noiseware


Choose Which Films to Compare
Before side
|
After side
|
Castle (default)
We take a look at the castle with the chromes boosted a bit to bring up the shadows


Choose Which Films to Compare
Before side
|
After side
|
Castle (boost)
And an even bigger boost to show what is going on in the shadows
Choose Which Films to Compare
Before side
|
After side
|
Castle (colour match)
And finally I wanted to see what the castle would look like if we normlised the colour balance between the different films by taking a grey point off the white flowers in the foreground.
Choose Which Films to Compare
Before side
|
After side
|
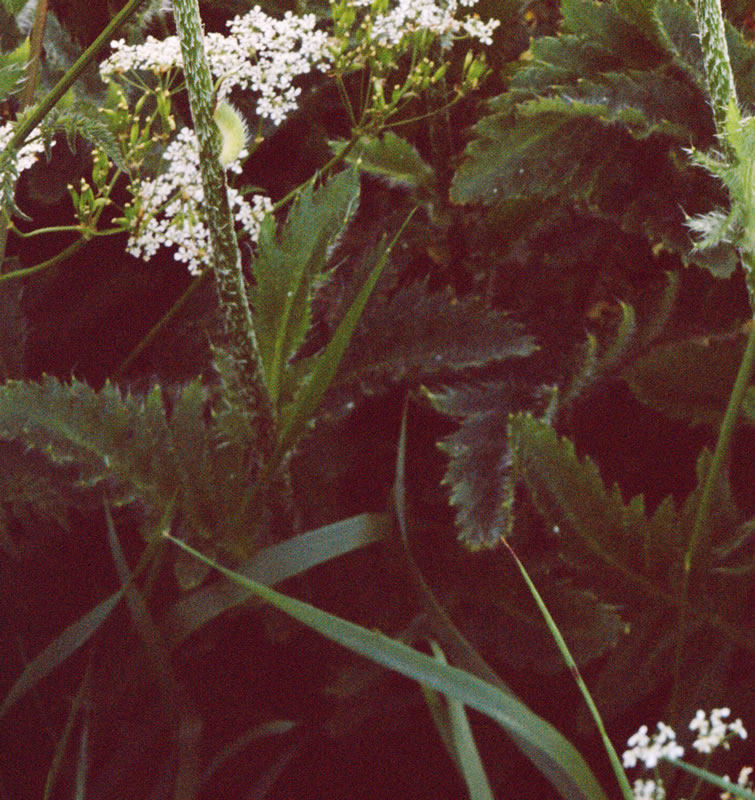
Shadows (default boost scan)
We're trying to see what is happening in the deep shadows at the bottom left of the picture


Choose Which Films to Compare
Before side
|
After side
|
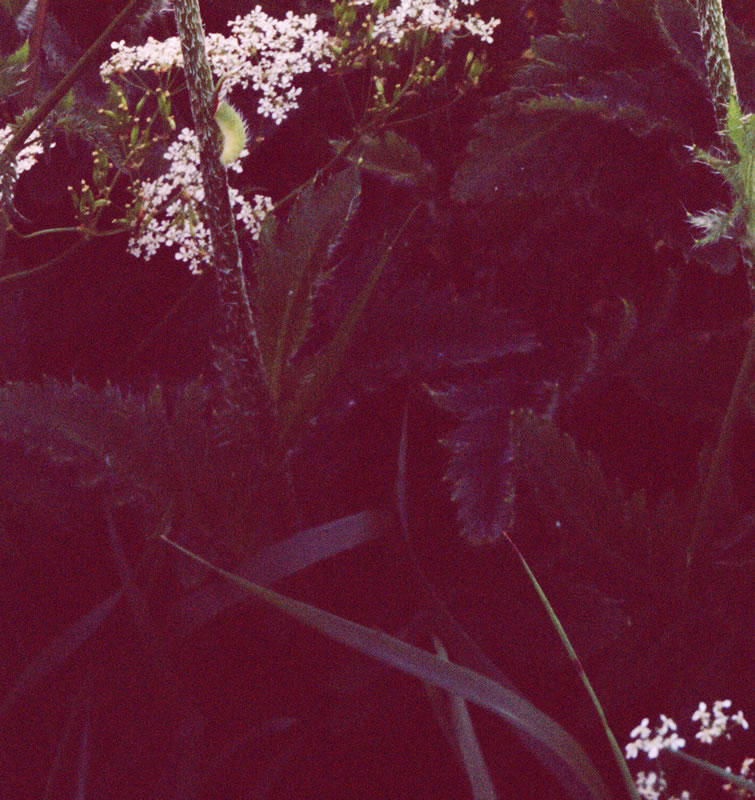
Shadows (more boost)
Lifting the shadows even further to show where things fall into complete black (or complete blurgh in some films cases)
Choose Which Films to Compare
Before side
|
After side
|
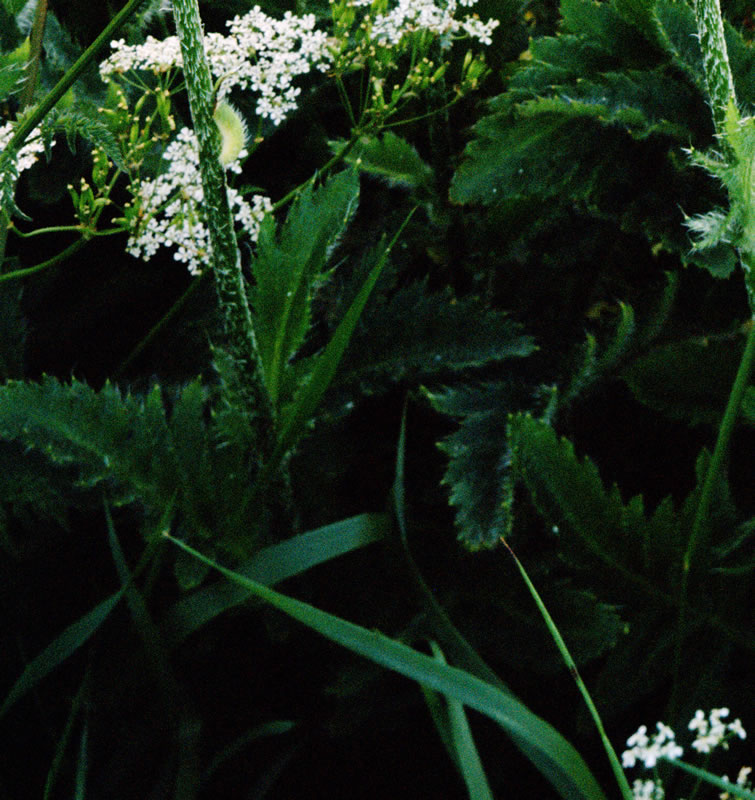
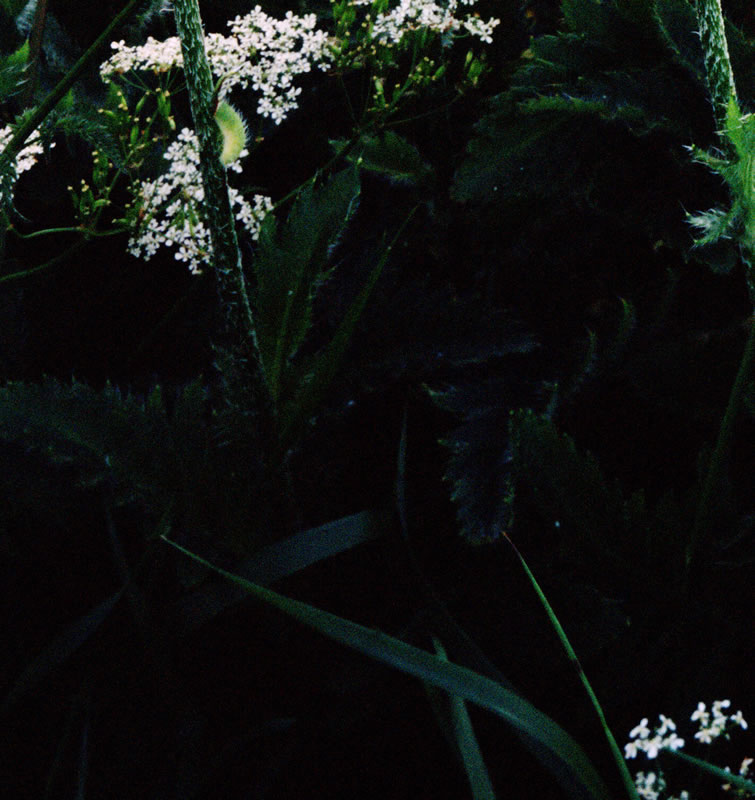
Shadows (default boost scan)
And finally we fix the black points as there were some horrible colours in the deep shadows of some films (e.g. Velvia 100, Velvia 100F). This is probably the best comparison of 'capability'
Choose Which Films to Compare
Before side
|
After side
|
The Other Tests
A Colour Film Comparison
Colour Film Comparison – Pt Two

